Supplies
Materials needed to make two cake postcards:
1 large sponge (yellow paints the best)
Serrated knife
X-Acto or utility knife
Spray paint (brown, yellow, pink or white)
1 tube acrylic latex caulk (brown, cream or white)
Spray adhesive (3M Super 77 works great!)
Cardboard, kraft paper or scrapbook paper
Instructions
1
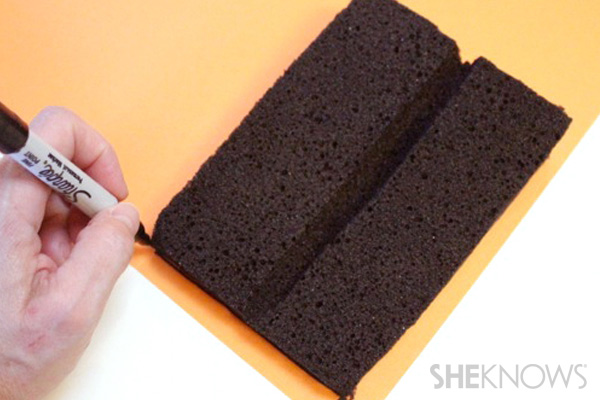
Cut sponge into wedge shape
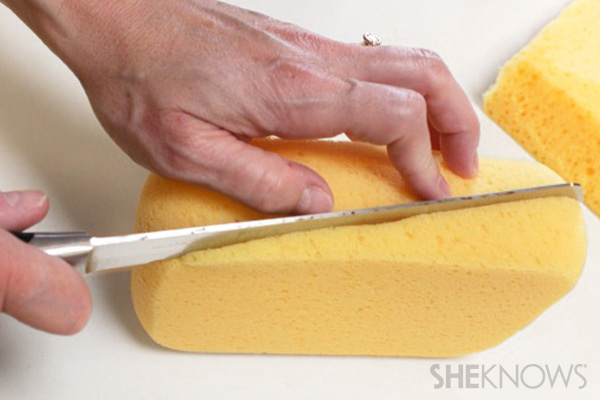
With a serrated knife, using a sawing motion, cut a sponge into two, cake wedge shapes. Large sponges can be found at hardware stores and in the automotive departments of most big discount stores.
2
Cut a center groove into sponge
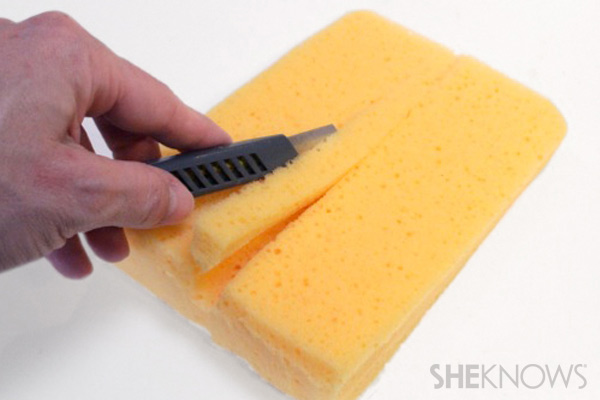
Using an X-Acto or utility knife, cut a section of foam from the center of the sponge. It doesn't have to be perfect. Just cut a wedge big enough so that you can add a line of caulking there later.
3
Paint the sponge
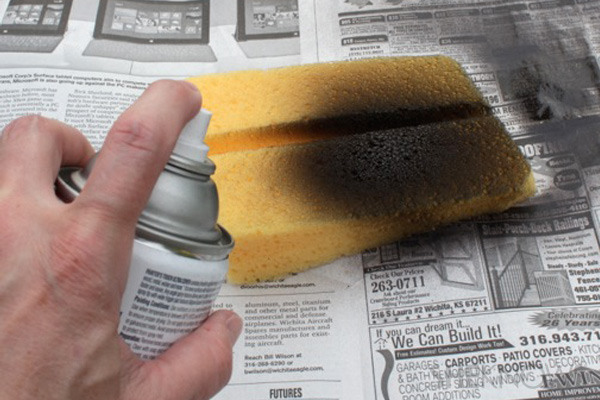
Paint the sponge wedges in desired color. (Brown looks the most realistic, but pink and yellow are fun too. White was probably my least favorite.)
4
Trace the slice of cake
When the sponge wedges are dry, trace around them on a piece of cardboard, kraft paper or colorful scrapbook paper. This will be the postcard side of the cake. Heavier paper works better and will give you a sturdier wedge of cake for mailing. Cut the postcard shapes from the paper.
5
Attach the postcard
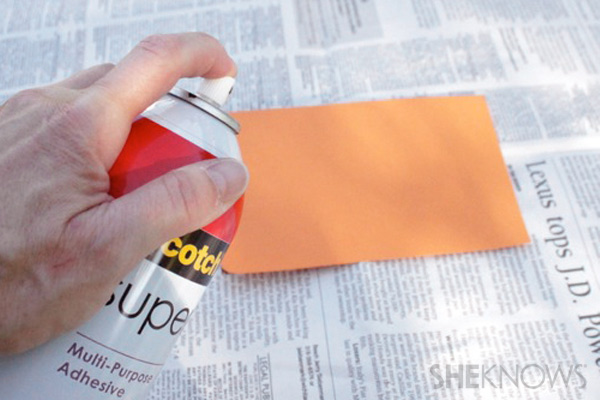
Spray glue the postcards to the solid, flat sides of the sponge wedges.
6
Prep the "icing"
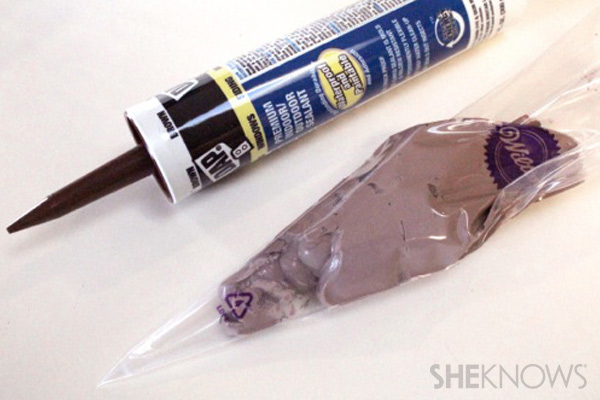
Using a caulking gun and your desired caulk, fill a plastic disposable piping bag with half of the caulk. This should be enough to do one cake wedge. I was able to pipe two cake postcards with one tube of caulk, but I recommend putting only half of the caulk in the bag at a time. Also, I tried decorating my cake wedges using the caulking gun, but it was nearly impossible to control. It's much easier with a piping bag.
7
Pipe the center of the cake
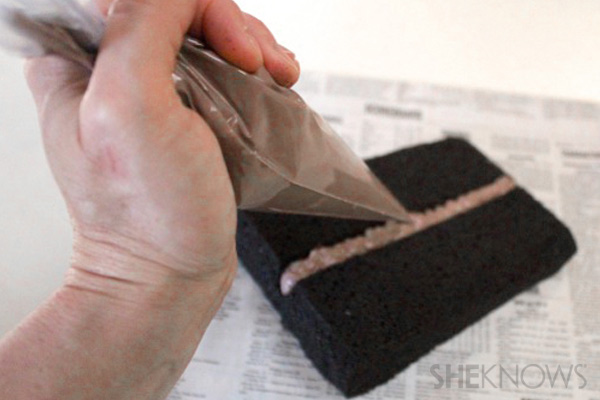
Pipe a line of caulk down the center of the cake postcard wedge, where you removed the sponge with your knife.
8
Pipe the icing on the top
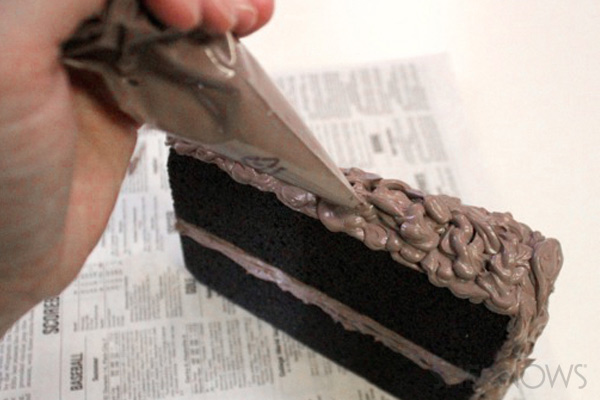 Pipe dollops and swirls of caulking on the top and sides of the sponge wedge just like you're decorating a cake. Pipe along the edge of the cake postcard to form a seal between it and the sponge.
9
Add the swirls
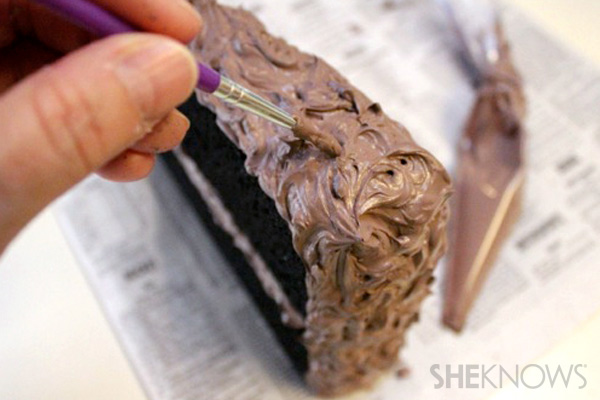
If needed, use a small paint brush or toothpick to swirl and adjust the thickness of the caulk on the cake top and side.
Allow your cake postcards to dry for three to five days. I placed mine on sheet of parchment paper and lifted them up periodically so that the caulk wouldn't dry and adhere to the paper.
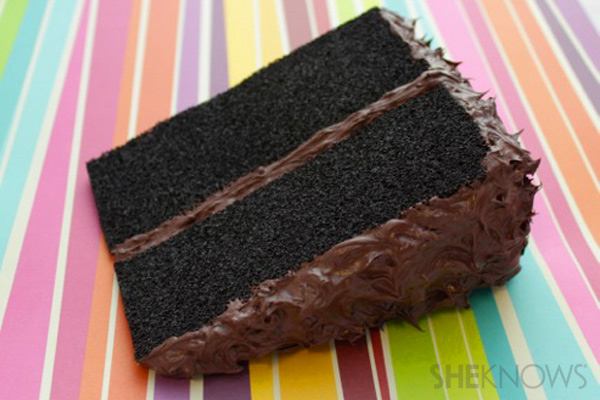
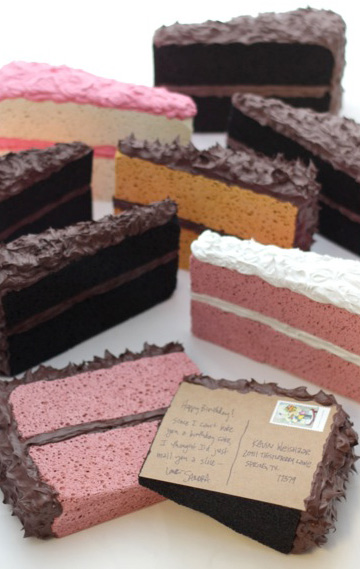
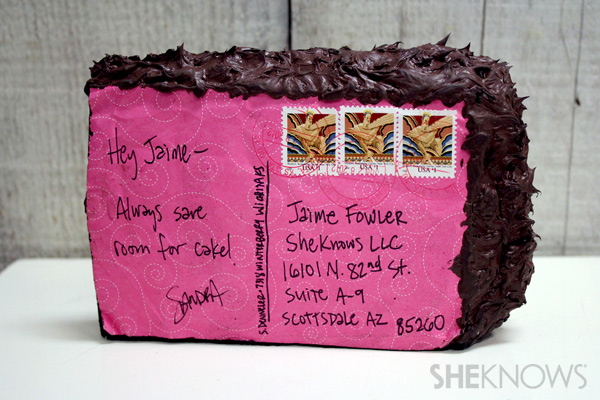
Write your message on the postcard side, leaving enough room for an address and postage. Sizes, shapes and weight of each cake postcard will vary, but most of mine required three, $1 stamps.
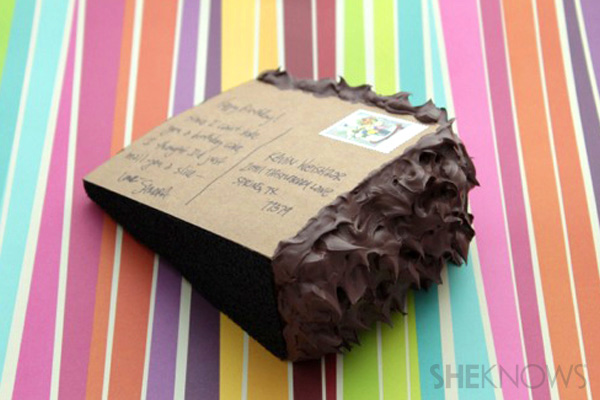
This totally works! I had Sandra mail me a slice of cake so I could see it with my own eyes. It made it to me in perfect condition. I could hardly believe it. See for yourself below:
Proof that you can in fact mail a slice of cake.


No comments:
Post a Comment